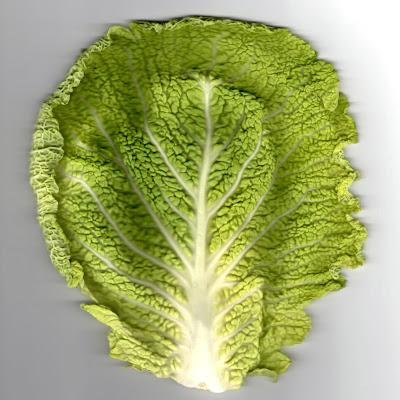
First we had a picture of a cabbage. Then I coloured it red using the hue and saturation and cropped it. then i duplicated it and merged the layers

Then I added the letter “J” and flipped it. Then once again I duplicated it. (Transform tools)
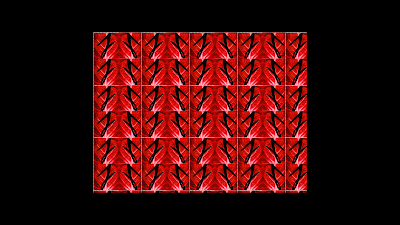
Then I filled the screen with the image
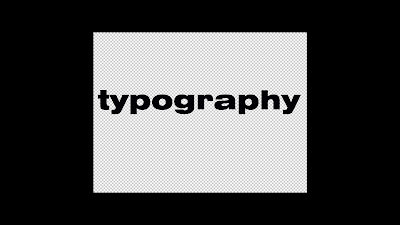
Then i added some typography
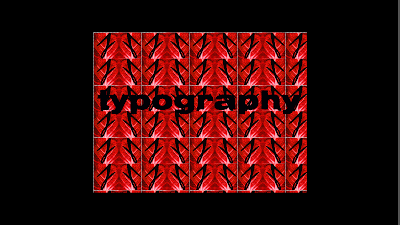
Then I added the typography to the background image and then
I copied and pasted it.
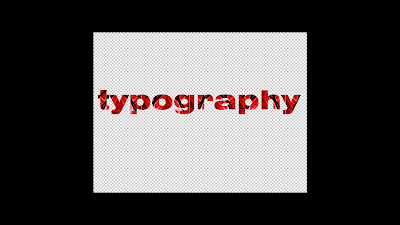
Which I then caused the colouring of the text to have the
same image as the background
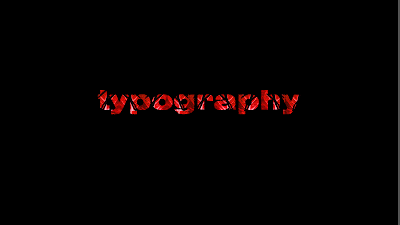
Then I added a black background to make my final outcome
stand out even more.


These are all graphite rubbing's that was done for texture examples. We have gone around the college and took rubbing examples of random textures that we could find and This is how they have come out.


Image #3 Testing:


Most these Photoshop textures where made using the same sort of technique e.g. :
-I choose my Two colour Options
-I go to Filter/Render/Clouds
-I open a Channels tab and select a new channel which is called Alpha 1
-I make a noise effect to make it fuzzy
-Then I give the image a Radial blur
-Then I go back into the layers tab and make the background into "Layer 0"
-After I go to Filter/ Render/ Lighting effects.. and Create a Light Region for my image
-Then when I'm happy with the work I Save The Image as a Photoshop PSD file and also as a Jpeg
I feel the most Successful where Image #5, Image #7 and Image #3 as these three are my favourite out of the 7 Images Created.
No comments:
Post a Comment